Eye bags don’t have to be permanent fixtures under your eyes. The right makeup technique can transform tired-looking skin into a flawless canvas. This starts with proper hydration and strategic priming to create a solid foundation.
Color correction is your next critical step. Neutralizing the darkness under your eyes before applying concealer makes all the difference in coverage. Most people rush through this stage without realizing how important it is.
Here’s where most people actually make their biggest mistake: they skip the brightening step entirely. This step is what truly lifts the entire eye area and creates dimension. Without it, even the best concealer looks flat and heavy.
Strategic placement of highlighter and lighter shades can completely change how rested you appear. Focus on the inner corners and the highest point of your cheekbones.
These targeted applications work together with your other products to create a naturally refreshed look.
Prep and Prime Your Under-Eye Area
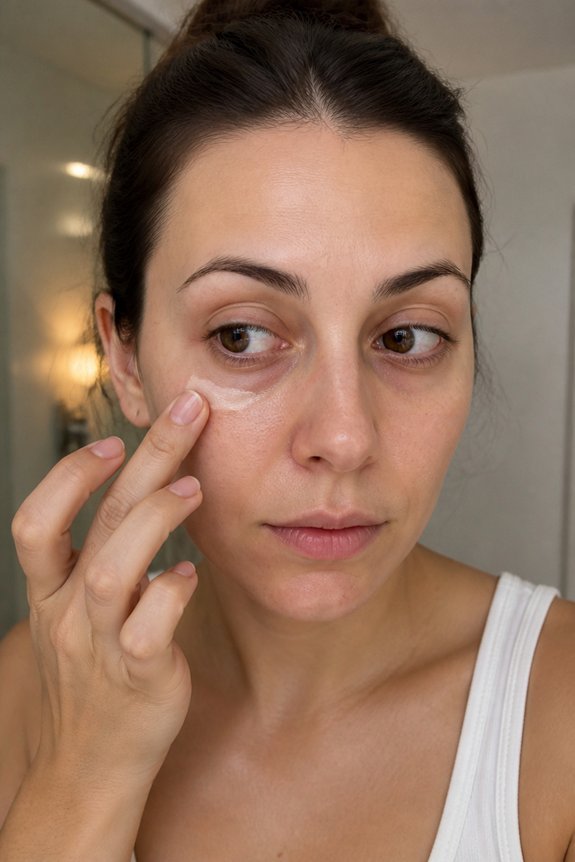
Start by hydrating that delicate under-eye skin. Gently pat a lightweight eye cream around the orbital bone and give it about 30 seconds to sink in. This creates the perfect base for everything that comes next.
Now grab a silicone-based primer made for under-eyes. Smashbox Photo Finish and e.l.f. Hydrating Primer both work great for smoothing fine lines and keeping concealer from creasing throughout the day. Let it set for a moment.
If you’re dealing with redness or dark circles, a color-correcting concealer helps. Use green-tinted correctors for redness or peach and salmon shades for bluish undertones under the eyes. This extra step makes your concealer look way more natural and helps it stick around longer.
Select a Concealer That Matches Your Skin Tone
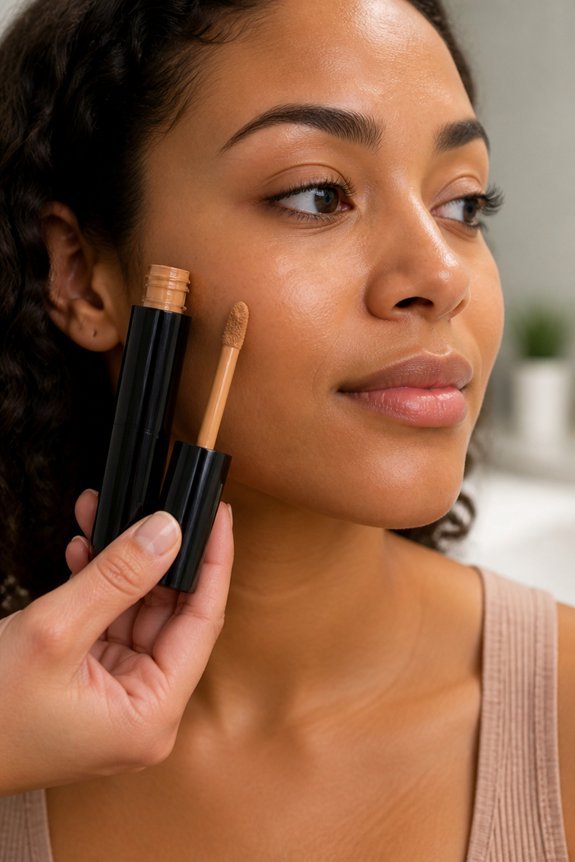
Once your primer is set, grab a concealer that matches your skin tone perfectly. This is what makes the difference between flawless coverage and obvious mistakes.
Head to the store and test shades along your jawline. This area shows your true skin tone better than anywhere else. Blend it slightly and check it in natural light to be sure. Maybelline Fit Me and MAC Face and Body have tons of options to choose from.
Here’s something important: the wrong shade actually makes under-eye bags stand out more instead of hiding them. If you have deeper skin, skip yellow-based formulas since they can look ashy and dull on you.
Think about your undertone too. Your concealer should match whether you’re warm, cool, or neutral toned. Getting this right means everything else you apply on top will blend beautifully.
Also Read: How to Conceal a Black Eye With Makeup
Color Correct Discoloration First
Start by addressing what’s underneath. Purple, blue, and brown tones make under-eye bags look worse than they actually are. A color corrector neutralizes these shades before concealer goes on.
Which corrector should you pick? Yellow or peach works best for deeper skin tones. Lighter complexions pair well with pink correctors. If you’re dealing with redness from sensitivity, reach for green.
Apply it sparingly with a damp beauty sponge. Focus on the darkest areas and pat gently. Let it sit for about a minute, then layer your concealer on top. This two-step method gives you better coverage without looking thick or cakey.
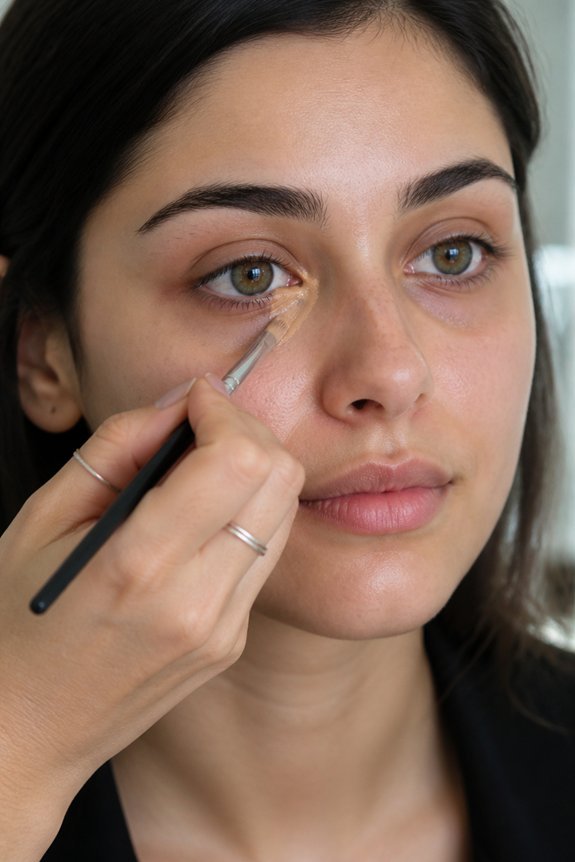
Apply Concealer to Shadow and Bag Areas
Here’s the thing about under-eye bags: you don’t need to cover your entire eye area. Instead, target just the shadowed spots directly under the bag where darkness pools. Pick a concealer one shade lighter than your skin and dab it right there.
Grab a damp beauty sponge and gently press it over the concealer in a stippling motion. This keeps things looking natural instead of thick. Cream concealers work best for this spot since they hydrate while giving you buildable coverage that won’t crease.
Lock everything in place with translucent powder and a fluffy brush. Use a light hand so the finish stays soft and real. This approach tackles both the darkness and the texture of the bag itself, leaving your eyes looking fresher and more awake.
Also Read: Can Eye Makeup Cause Pink Eye
Blend Seamlessly to Avoid Caking
The secret to a smooth finish? Blending with the right tools and technique. A damp beauty sponge or fluffy brush works best here. Tap and stipple gently instead of swiping, which keeps everything even and prevents disturbing what’s already in place.
Work in small circles around the orbital bone. Blend upward toward your temples and downward along your cheekbones for that seamless transition. A light hand with translucent powder finishes the job, since delicate eye skin picks up caking fast.
Patience and precision matter more than speed when it comes to under-eye work. Rushing leads to visible lines that are hard to fix. Dense, tapered brushes give you better control, and beauty sponges cut into quarters work great for targeting specific spots. Quality tools make all the difference in getting results that actually look flawless.
Brighten the Inner Corner for Instant Lift
Want to open up tired eyes? Try placing a tiny dot of highlighter on your inner corner. Light hits this spot and bounces forward, instantly making shadows disappear and eyes look more awake.
Use a luminous pen or liquid highlighter for best results. Apply just a pinhead-sized amount to the inner tear duct. Gently blend outward with a damp sponge so it melts seamlessly with your concealer.
Keep your lid matte and save all the shimmer for that inner corner. This contrast makes the lifting effect pop even more. You’ll notice an immediate difference in how open and refreshed your eye area looks.
Set Your Makeup With Powder and Spray
Start with a finely-milled translucent powder to lock in your concealer. Use a damp beauty sponge and apply it gently so you don’t mess up what’s underneath. This simple step prevents creasing and keeps your coverage looking fresh all day.
Finish with a setting spray from about six inches away. This gives you an even mist that seals everything together without adding extra texture or weight. The combination of powder first, then spray creates a flawless finish that handles humidity and movement without looking heavy or cakey.
Touch Up Throughout the Day Without Reapplying
Keep a portable concealer pen in your bag for quick fixes. Blotting papers are your best friend too—they stop excess oil from making makeup slip and crease.
A hydrating eye mist refreshes tired under-eye skin and locks everything in place. Cream concealers work better than powders for touch-ups since they won’t highlight fine lines. Grab a small brush or sponge so you can apply product precisely without overdoing it. These few items prevent that worn-out look that happens when foundation oxidizes and settles into creases throughout the day.
Frequently Asked Questions
What Is the Best Concealer Formula for Sensitive Under-Eye Skin?
Lightweight, hydrating concealers work best for sensitive under-eye skin. Formulas containing hyaluronic acid, peptides, or ceramics provide moisture while minimizing irritation. Cream or liquid textures are preferable to powders, which can emphasize fine lines and cause discomfort on delicate areas.
How Long Does Under-Eye Makeup Typically Last Throughout the Day?
Under-eye makeup typically remains intact for six to eight hours before fading or creasing. The delicate skin beneath the eyes, like tissue paper holding moisture, requires setting sprays and primers to extend longevity throughout demanding days.
Can I Use Regular Foundation Instead of Concealer for Eye Bags?
Regular foundation can work for eye bags, though it is typically thicker and heavier than concealer. Concealer provides better coverage, blends more seamlessly, and is specifically formulated for the delicate under-eye area’s unique needs.
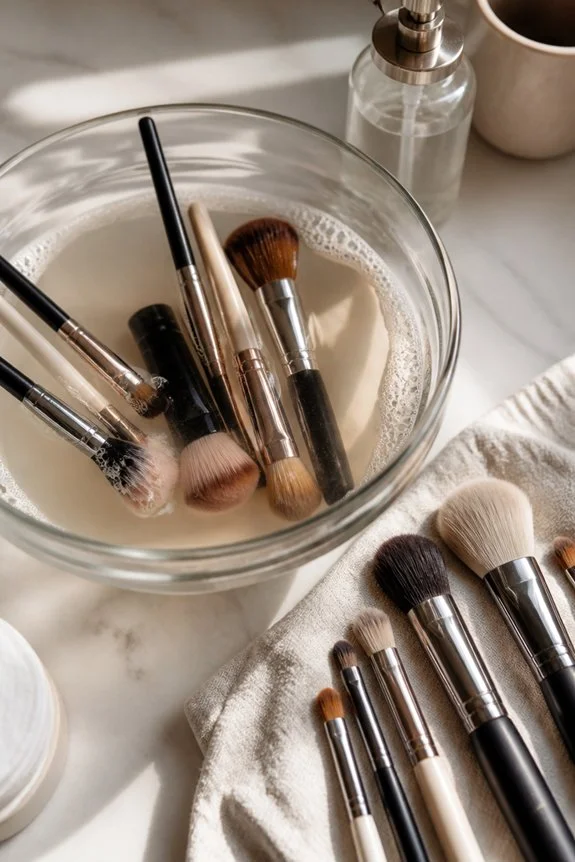
What Makeup Brushes or Tools Work Best for Under-Eye Application?
Studies show 73% of makeup artists prefer stippling brushes for under-eye application. Fluffy dome brushes, beauty sponges, and flat concealer brushes work best. These tools blend seamlessly while minimizing product tugging on delicate skin.
Which Color Corrector Shade Should I Choose for My Skin Tone?
Color corrector selection depends on undertone and bag severity. Peach or orange correctors work for deeper skin tones, while yellow or salmon suits medium tones. Fair complexions benefit from pink or light peach shades for neutralizing darkness effectively.
Conclusion
Mastering under-eye coverage requires understanding that proper preparation directly influences concealer performance. Studies confirm hydrated skin accepts pigment more evenly, reducing visible texture. By layering primer, color corrector, and concealer strategically, individuals can achieve professional results at home. The technique transforms shadowed areas into brightened zones, proving that makeup artistry combines science with skill. Consistency and quality products guarantee bags remain imperceptible throughout the day.